


While most people bemoan the layer of pollen that seems to cover everything, I welcome it with opened arms. It means that warm weather is finally here! I’m convinced that I flourish when the temperature climbs above 75 degrees. Anything lower than that and I’m a shell of my former summer self.
Summer means frozen treats and cold desserts. Don’t get me wrong, I love a piece of warm apple pie, but I love summer desserts even more. Plus, you can cover all of those yummy summer fruits with whipped cream! Which brings me to the point of this post.
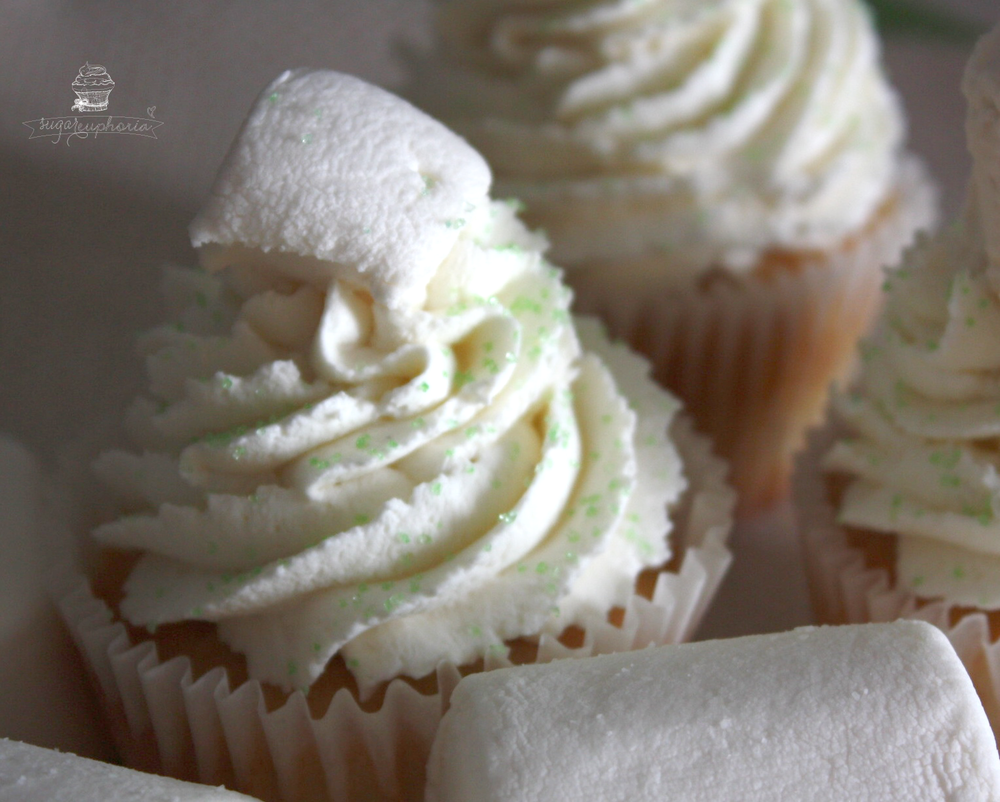
Stabilized Whipped Cream!
I wish I had taken more pictures, but the whipped cream was so good that I couldn’t help myself.
After I frosted the Infinity & Beyond cupcakes, I had every intention of putting together a stylish shoot involving cheesecake, fresh berries and whipped cream, but alas. One minute I was thinking of lighting, and the next I was scooping whipped cream out of a bowl.
Anyway! I strongly suggest that you add whipped cream to your repertoire. It really is an all-purpose topping – cakes, pies, cupcakes, ice cream – and perfect for summer.
Stabilized Whipped Cream
Recipe Adapted from Baked Bree
- 1 teaspoon unflavored gelatin
- 1 Tablespoon cold water
- 1 cup cold heavy or whipping cream
- 3 Tablespoons sugar
- 1 teaspoon vanilla
Instructions:
- Sprinkle the gelatin over the cold water and let it stand for about a minute until the gelatin absorbs the water.
- Microwave the gelatin for about 30 seconds on high heat. You’ll know that it’s done when it’s clear and melted. Let it cool.
- In the bowl of a mixer, beat the cream until it gets thick and starts to form peaks. Gradually increase speed. Make sure that the bowl is cold to reduce the chances of the cream curdling.
- Gradually add in your sugar. You can use granulated or powdered sugar.
- Add in the vanilla.


Be the first to comment